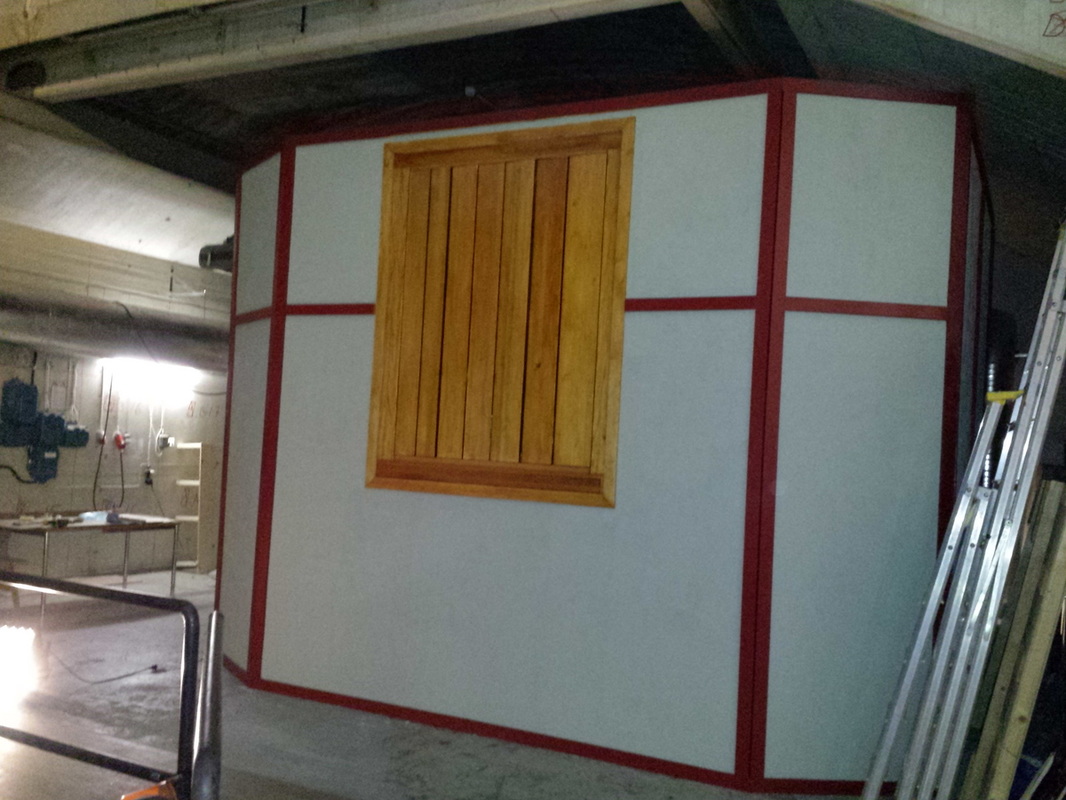
Pictures and information about the chamber build in the Reaktor Hall.
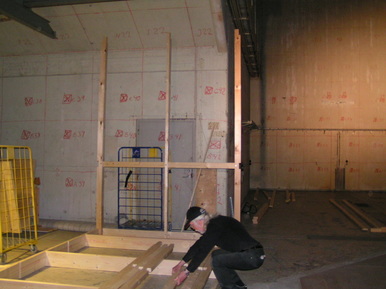
Build of the organ chamber was done on site. Design and drawings by Johan Liljencrants.
|
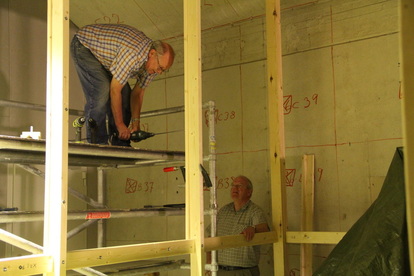
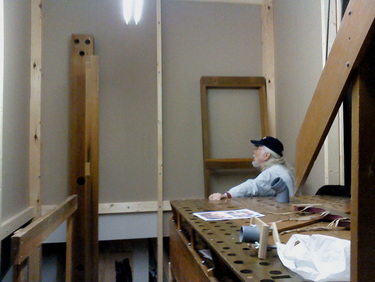
Per-Olof with the drill and Axel has some advice.
|
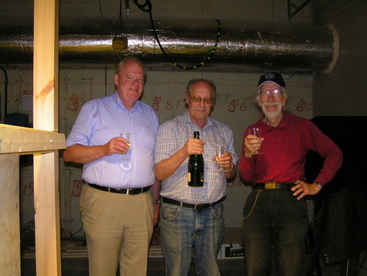
Celebration, roof finished.
From left Axel Christensson, Per-Olof Schultz, Johan Liljencrants
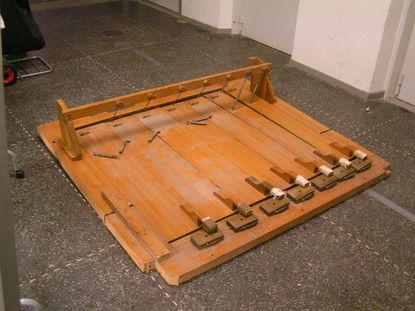
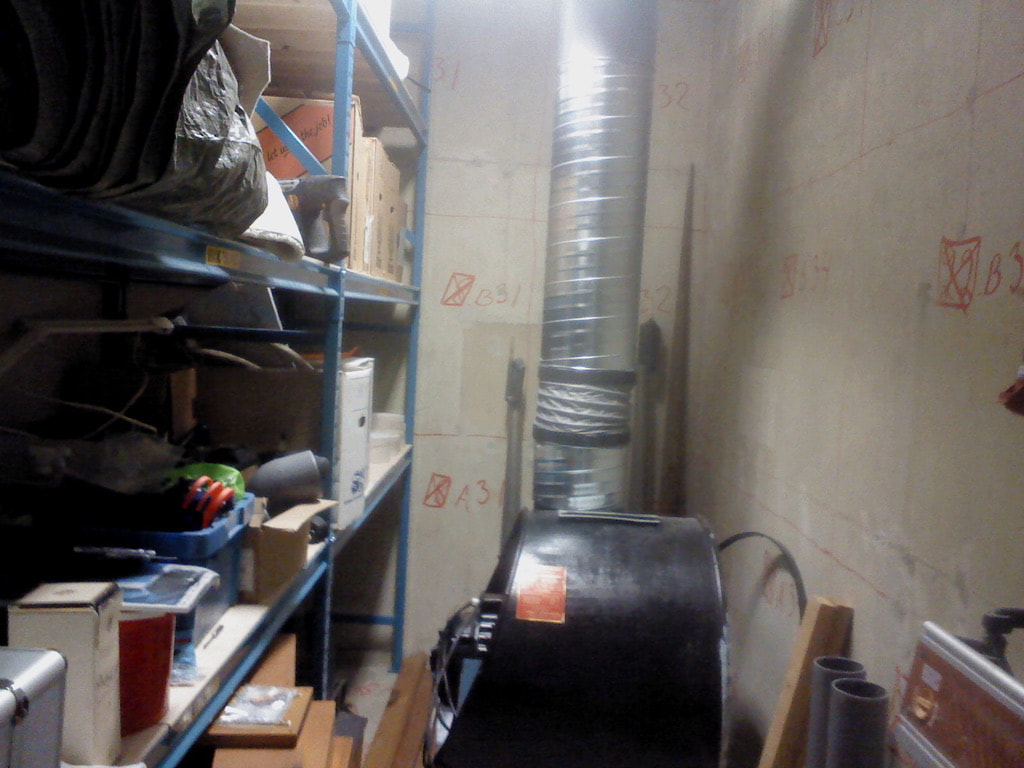
Temporary placement of components.
Johan thinking how to fit all instruments, Glockenspiel, Xylophone, Chimes, Toys.
|
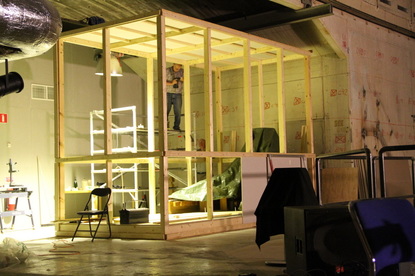
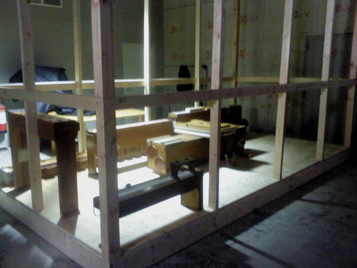
Shape of the organ chamber can be seen. Various components can be trial fitted.
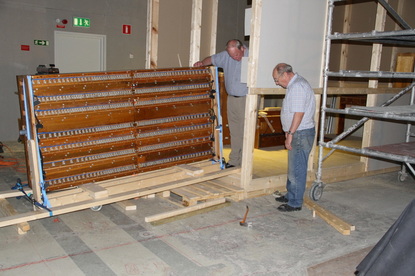
Main chest. Axel and Per-Olof wondering about the best way to go on. Johan took the picture.
We had no idea about how the percussion tower was looking when the organ was in the theater. Most of the mounting lumber was gone. The solution was the Internet. I put out some questions and got a lot of pictures. With help of these we built up a percussion tower to what we thought it once looked like. |
Here is the "Toy Counter" lifted to position.
|

Mounting of the Glockenspiel aided by a crane. The crane is an integral part of the tower and is still in place. Nicolai Johannsen is controlling the wire rope.
|
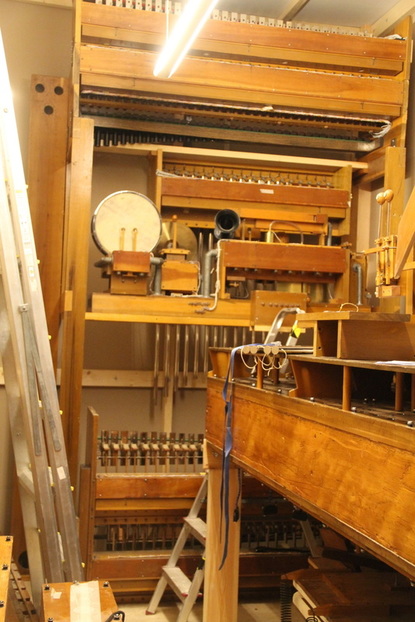
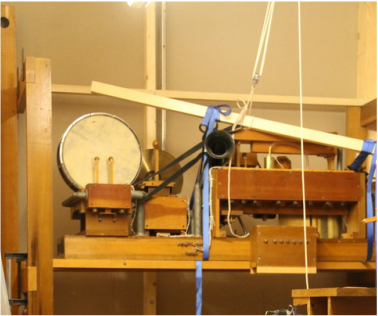
Most of the parts in place. Electrical and winding not yet done. From top Glockenspiel, Xylophone. Chimes, Toy Counter. Chrysoglott not yet in final position.
|
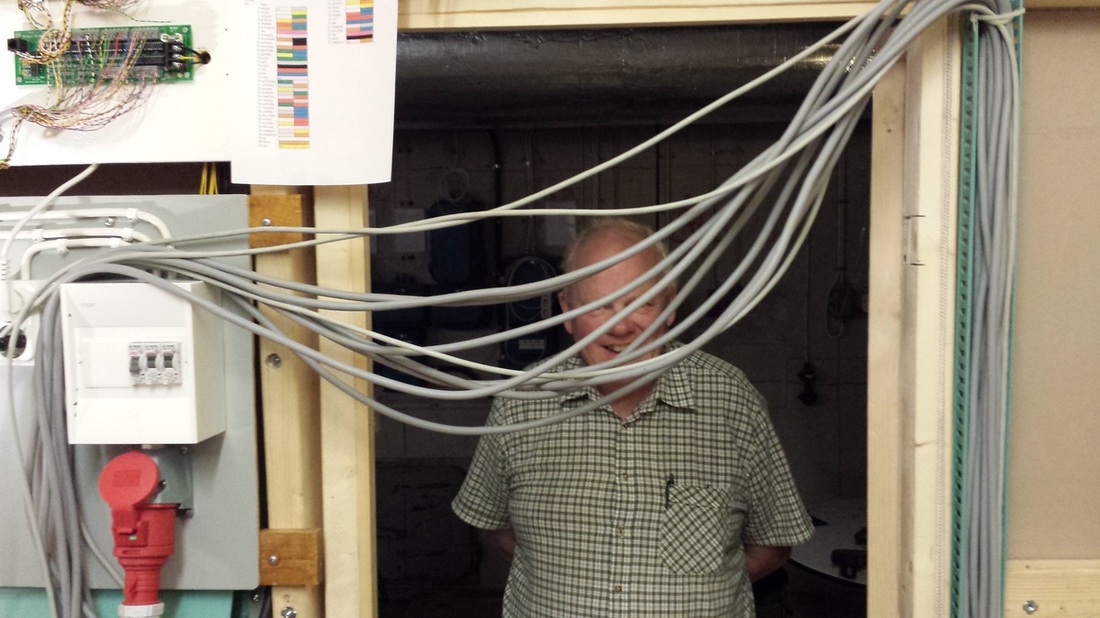
Wiring. Axel with encouraging words.
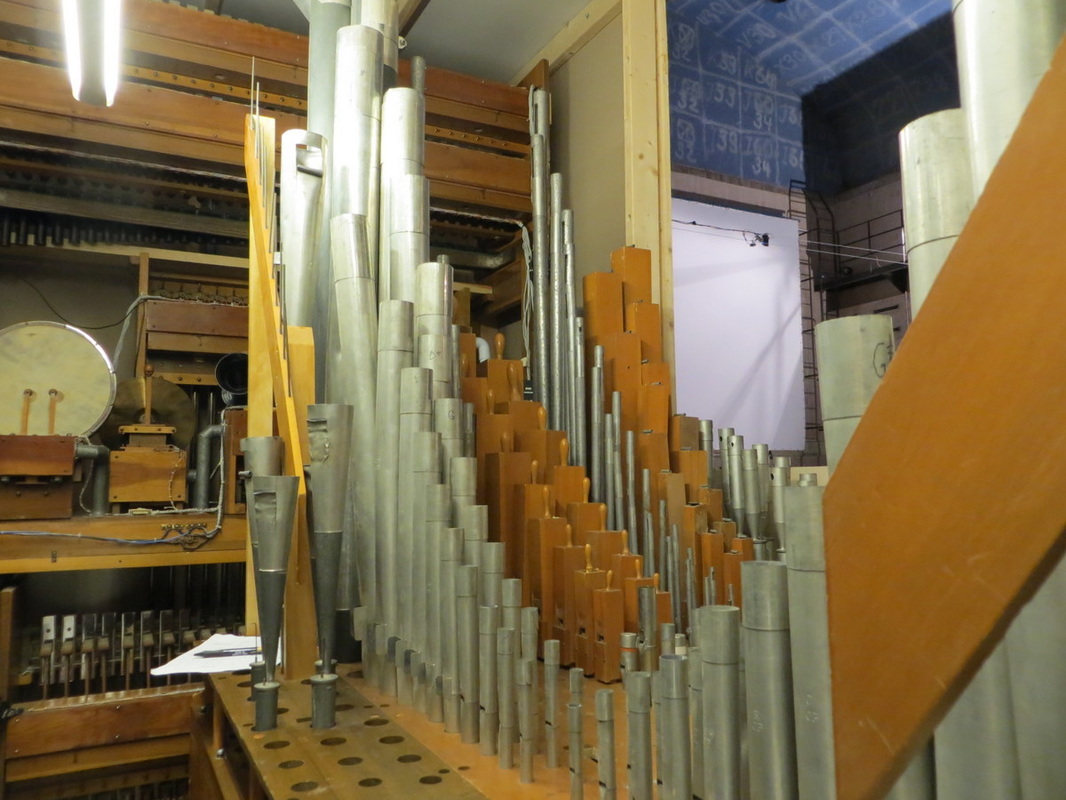
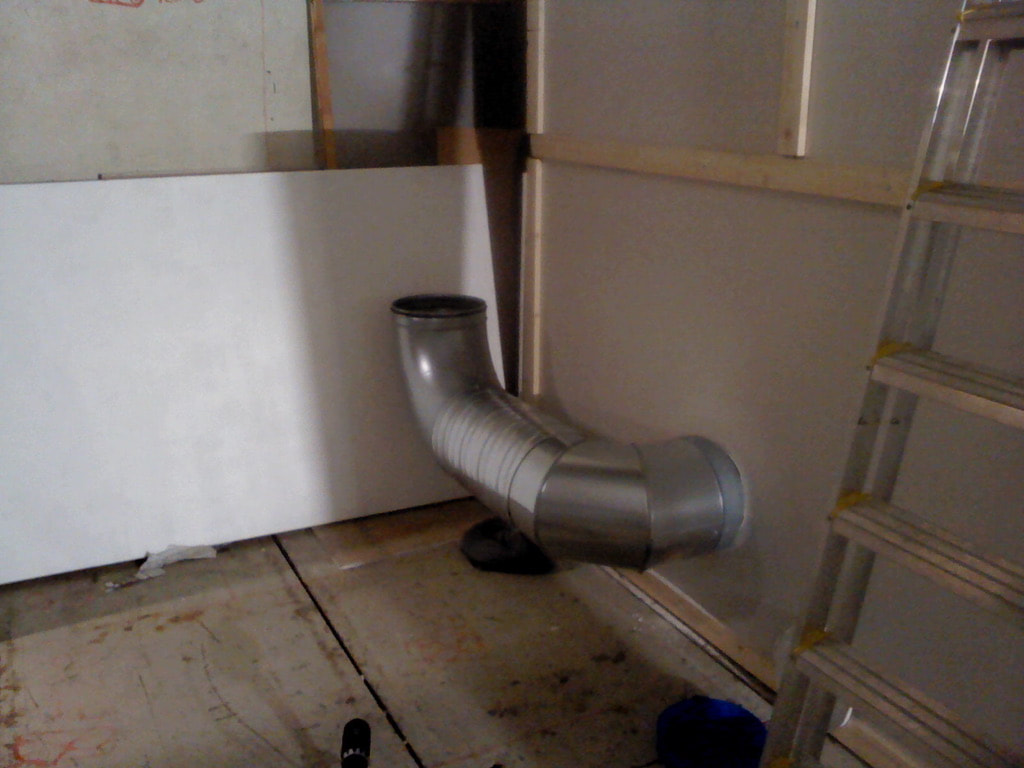
Pipes beginning to show up.
|
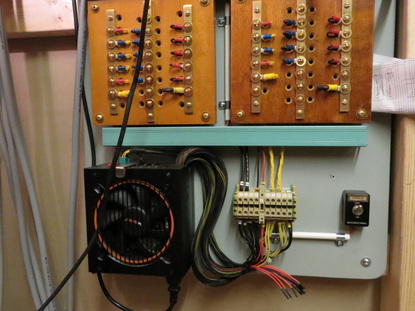
Power supply and distribution. This elegant work was done by Axel. One original Wurlitzer panel and one copy.
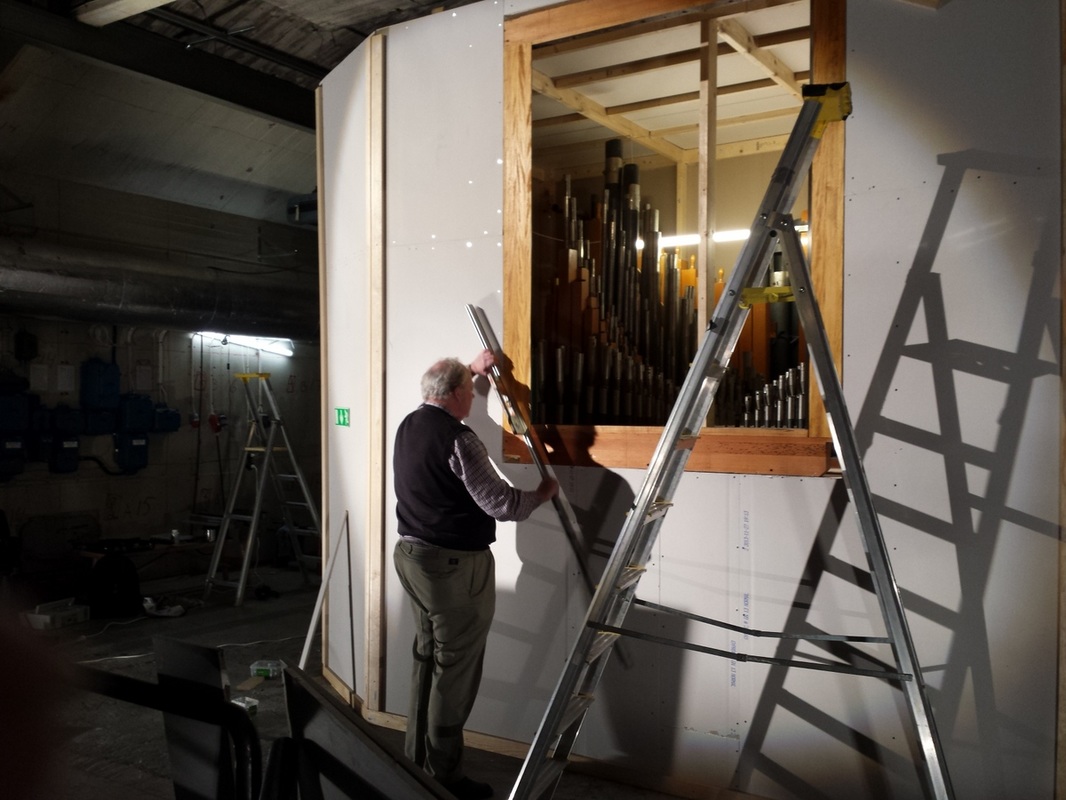
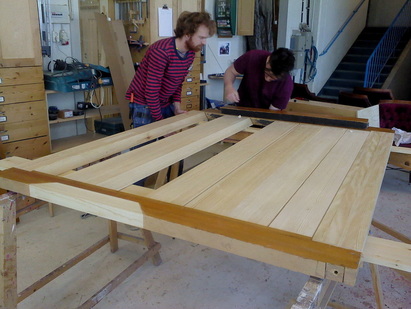
Restoration of swell shades.
The shades had been shortened for some reason when the organ was installed in the City Hall. The original installation in the Skandia theater only had one set of shades.
New longer ones were manufactured by Tamano AB.
The shades had been shortened for some reason when the organ was installed in the City Hall. The original installation in the Skandia theater only had one set of shades.
New longer ones were manufactured by Tamano AB.
Installation of blower. We hired professional people to do the job.
Axel checking the mounting of the frame.
|
Installation complete. Now only the electricity remains. We had professional help with that.
Everything mounted.
|
Now it is 2014 and after nine years it's time to power up. A huge job in front of us, make sure everything works and that it sounds like a Wurlitzer. Over the years I have discussed with Wurlitzer people around the world and they all seem to agree: "You absolutely need a separate Tibia trem". Our position was, let's leave it original, at least for the time being. We have here in Sweden several skilled organ builders but none knows how a theatre organ should sound like. During the restoration process I had been in contact with Len Rawle, MBE, and we asked him to come over and assist us.
Len Rawle, MBE
A lot of adjustments had to be done. One was of course tuning. For this we engaged an expert to do the work.
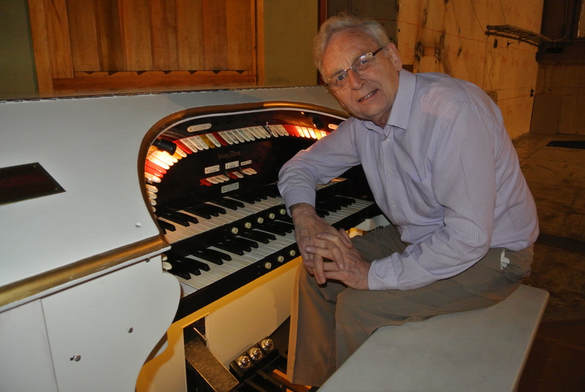
Magnus Blix at the console.
Magnus Blix at the console.
Improvements. New!
Over the years we have been advised that our little Wurlitzer absolutely needs a separate tibia tremulant, but we have decided to keep the disposition, only two trems, Vox and Main. There are few original small Wurlitzers left and we think it’s worthwhile keeping it original.
We have done a couple of improvements lately, the siren was barely audible due to the placement in a corner. That was necessary since the siren is part of the Sleigh Bells and assembly is in its original place on a wind trunk.
We took a bell from a trumpet and mounted the siren in the bell and a hose from the original outlet and placed the bell in a better place. Various bells provided by Lars Gerdt AB.
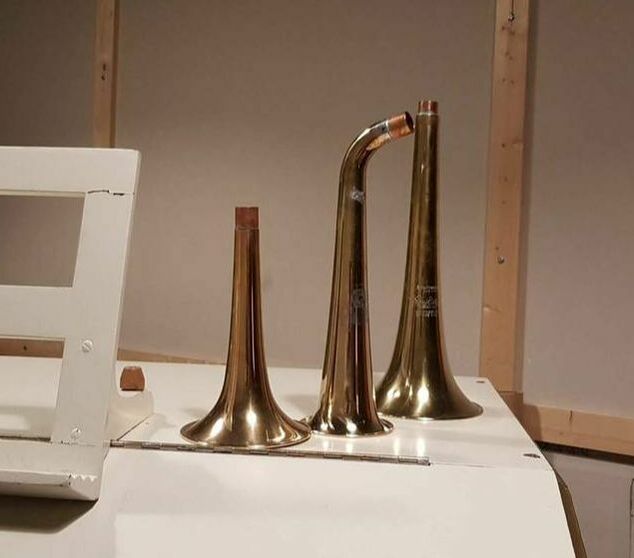
Trumpet Bell works best, the one in the middle
|
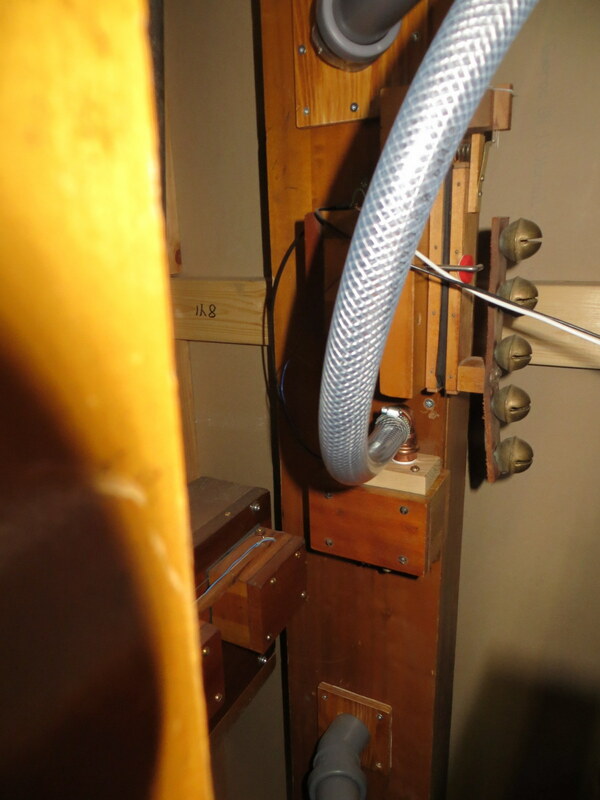
Air taken from the original position
|
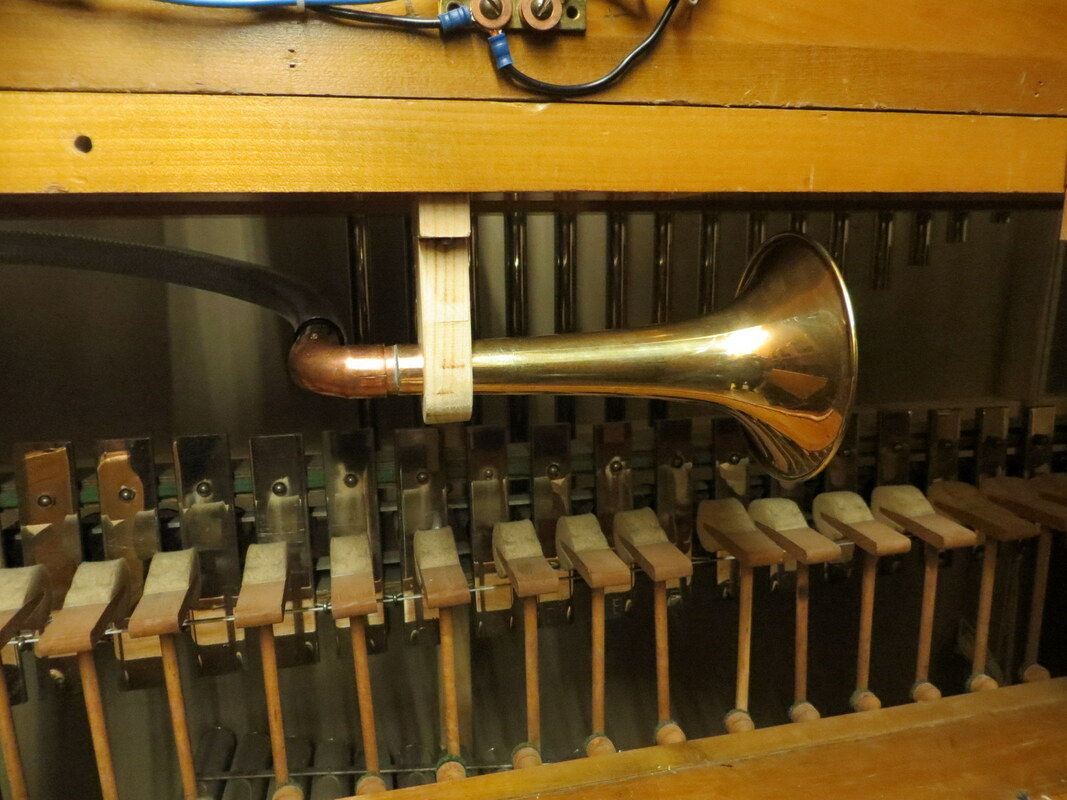
Opening aimed at the shades
|
The other improvement had to do with the swell shades. The operation has been somewhat irregular and required regular maintenance. I removed the contact assembly and found that some contacts had become loose resulting in bad contact.
I decided to buy a complete new assembly with reed contacts from Arndt Organ Supply. This was very easy to install, two screws required (included), one to mount the magnet assembly and the other to mount the PC board. No drilling and tapping required.
I decided to buy a complete new assembly with reed contacts from Arndt Organ Supply. This was very easy to install, two screws required (included), one to mount the magnet assembly and the other to mount the PC board. No drilling and tapping required.
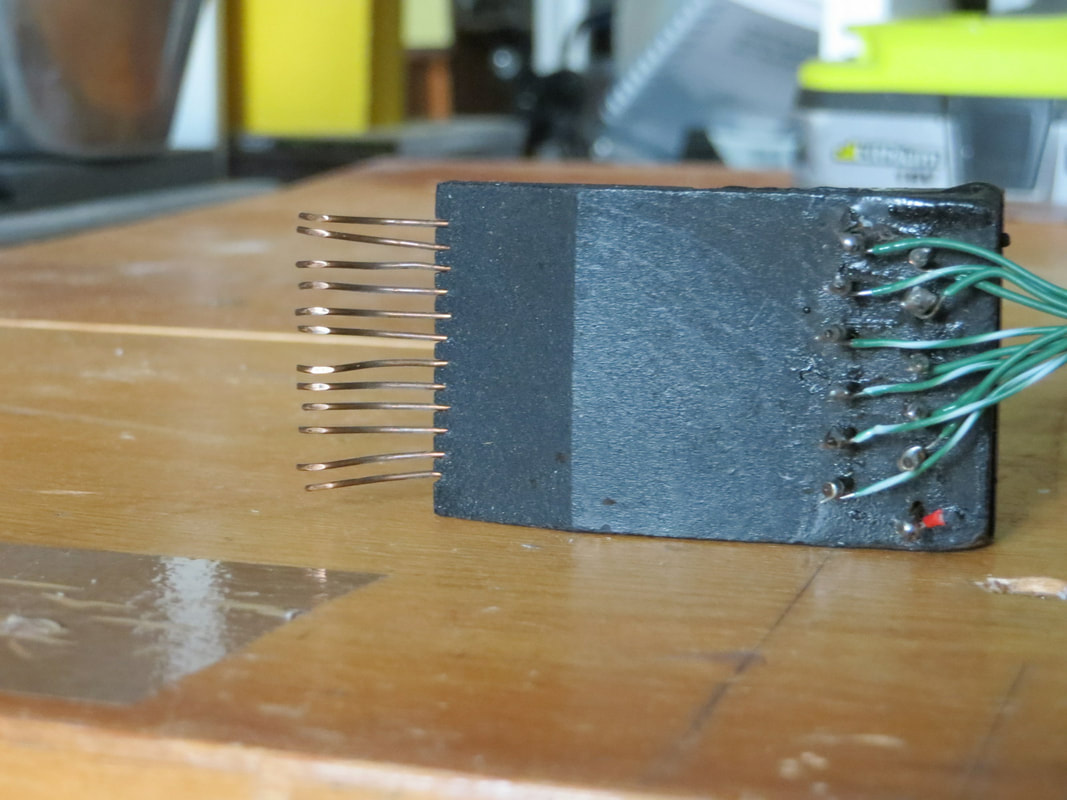
Some contacts found to be loose
|
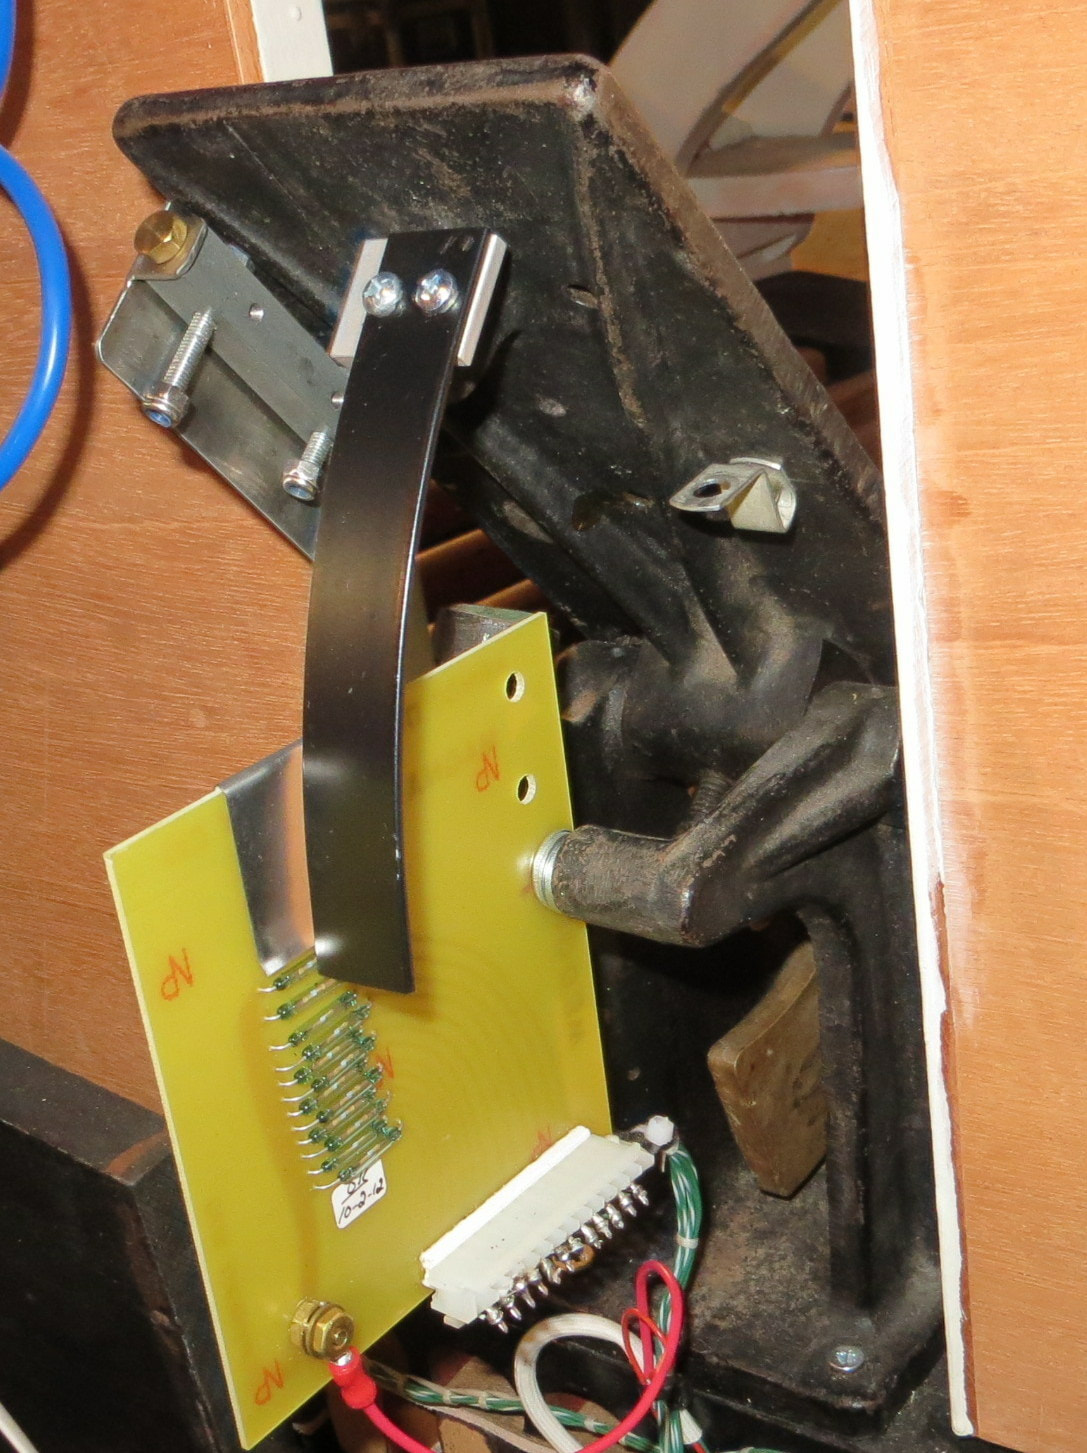
Reed contacts and magnet assembly. Existing mounting holes used
|